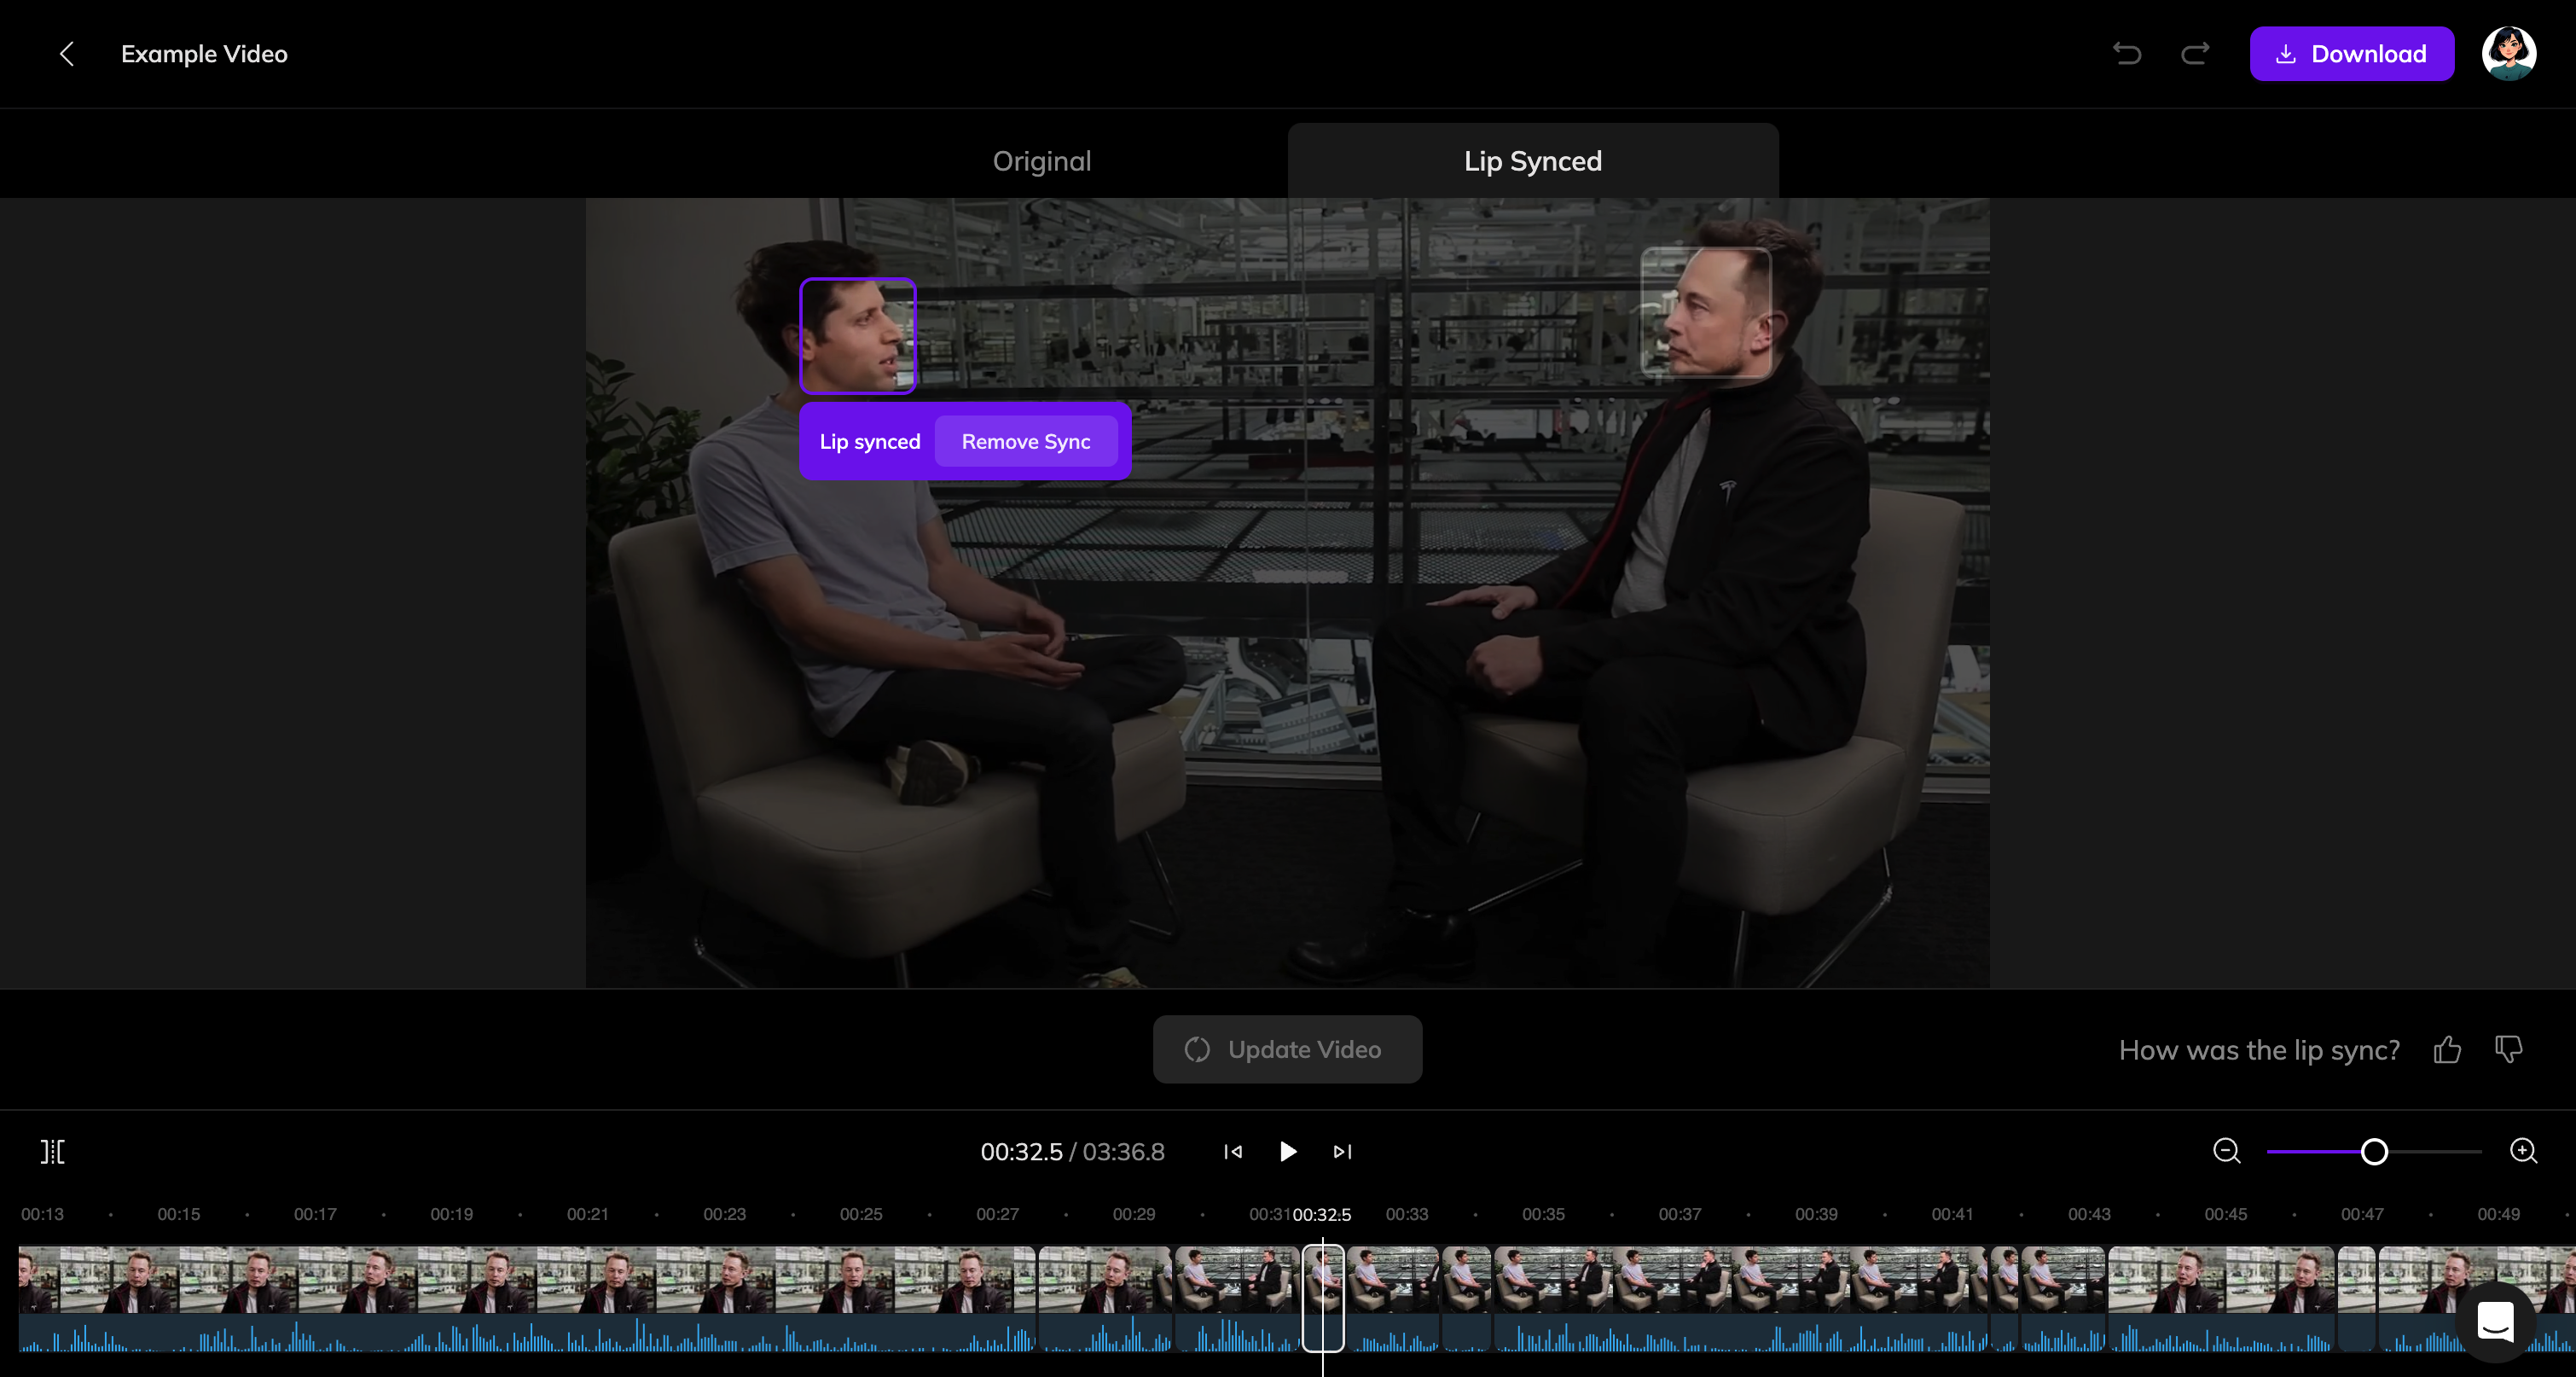
Check Face Lip Sync Status
When you pause the video, the preview area highlights the faces in the current frame and shows their lip-sync status for the segment:- Lip synced: The face has been synced to the audio for the current segment.
- Not synced: The face retains its original state and has not been synced.
How to Edit
Remove Lip Sync from a Face
-
Select the face in the preview area during the segment where lip sync is applied. Click the Remove Sync button.
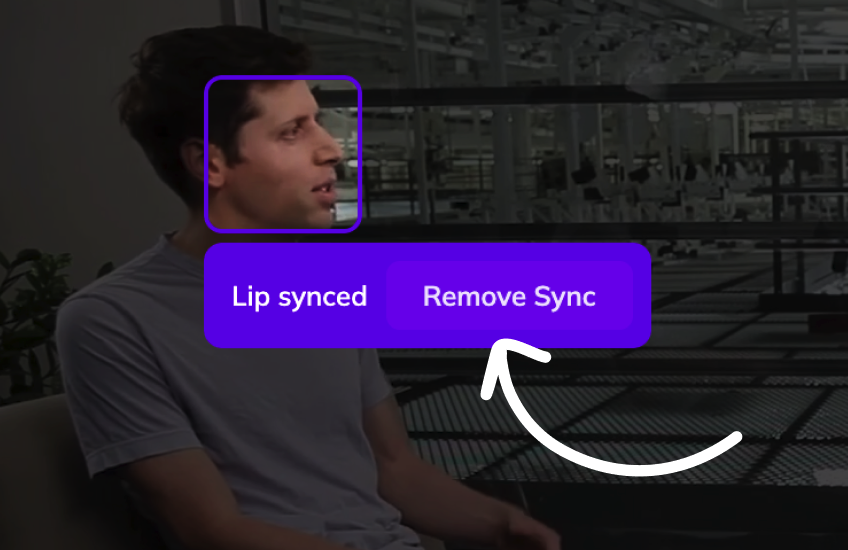
- Click Update Video. The video will reprocess, and the face will return to its original state.
Apply Lip Sync to a Face
-
Select the face in the preview area during the segment where it is not synced. Click the Set Sync button.

- Click Update Video. The video will reprocess, and lip sync will be applied to the selected face.
Edit Lip Sync for Specific Time Segments
Vozo automatically divides your video into multiple clips on the timeline. If the part you want to modify isn’t already separated, you can split it:- Move the playhead to the desired time.
-
Click the Split button in the top-left corner of the timeline to create a new clip.

- Once split, edit the newly created segment selectively as needed (refer to the previous section for detailed instructions).
Common Scenarios and Solutions
Lip Sync was applied to the wrong face
Lip Sync was applied to the wrong face
If your video has multiple faces in a frame, Vozo might sync the wrong face. For instance, Face A and Face B appear, but the audio is from Face B, and Face A was synced.Steps to Fix:
- Pause the video at the segment where both Face A and Face B appear, and the sync is incorrect.
- Both faces will be automatically recognized. Face A will be selected by default and show the “Lip synced” status.
- Select Face B, which will display the “Not synced” status. Click Set Sync.
- Face B will now show “Ready to lip sync”, and Face A will change to “Ready to remove sync”.
- Click Update Video after correcting all segments.
Lip Sync was incorrectly applied to a non-speaking face during voiceover segments
Lip Sync was incorrectly applied to a non-speaking face during voiceover segments
If a segment of your video includes voiceover audio not tied to the face on screen, Vozo might mistakenly sync it.Steps to Fix:
- Pause the video at the segment where lip sync was applied incorrectly.
- Select the face that was mistakenly synced, and click Remove Sync.
- Click Update Video. The face will return to its original state without lip sync.
The mouth incorrectly appears on top of obstructions
The mouth incorrectly appears on top of obstructions
Sometimes, lip sync causes the mouth to appear over obstructions like microphones or hands in the video.Steps to Fix:
- Identify the segment where the obstruction occurs.
- Click the Split button to divide the timeline at this segment.
- Select the segment, then click the Remove Sync button next to the face in the preview area.
- Click Update Video to finalize the changes.
This approach works best for short, temporary obstructions. If the face is frequently covered throughout the video, it may not be suitable for lip syncing.
Facial expression looks unnatural when not speaking
Facial expression looks unnatural when not speaking
During pauses or moments of silence, lip sync may create unnatural facial expressions.Steps to Fix:
- Locate the segment where the face appears unnatural during a pause.
- Use the Split button on the timeline to isolate the affected segment.
- Select the segment, then click the Remove Sync button next to the face in the preview area.
- Click Update Video to apply the changes.
The face appears unnatural during fade transitions
The face appears unnatural during fade transitions
During fade transitions, such as when the screen brightens or darkens, lip sync can make the face look unnatural.Steps to Fix:
- Find the fade transition segment in the timeline.
- Click the Split button to separate the transition from the rest of the video.
- Select the transition clip, then click the Remove Sync button next to the face in the preview area.
- Click Update Video to apply the changes.