Create a Project
To get started, navigate to your Dashboard and click on Translate Video - Translate & Dub. This will open the upload dialog, where you can drag and drop your video files or click to upload. You can also paste a link to upload your video. Before processing your video, you’ll need to configure a few project settings:- Original Language: Select the original language of your video.
- Translated to: Choose the target language you want your video translated into.
- Transcribe Original Audio: Usually, Auto-Transcribe is enough. If your video already has a proofread subtitle file or embedded subtitles, use Upload Subtitle File or Extract Subtitles for higher accuracy.
- Number of Speakers: Specify the number of speakers in the video. If unsure, select Auto for automatic detection. For better accuracy, we recommend selecting the exact number of speakers if you know it.
- Advanced Settings (Optional):
- Translation Prompt: Choose a preset or enter tone, background, or language style preferences to guide translation.
- Glossary: Select one or more glossaries to define how key terms should be translated and pronounced. Only available for Business and higher-tier plans. For more details, see Glossary.
- Add Subtitles to Video: Toggle this on to add subtitles to the translated video, in addition to dubbing.
Proofreading Transcription and Speaker
After receiving your automatically translated video, you can easily proofread and correct the transcription and speakers using Vozo Translation Editor. Simply click on the incorrect original text to edit it, or click on the incorrect speaker tag to switch to the correct speaker. After making the corrections, click the Update Dubbing button to refresh the dubbing.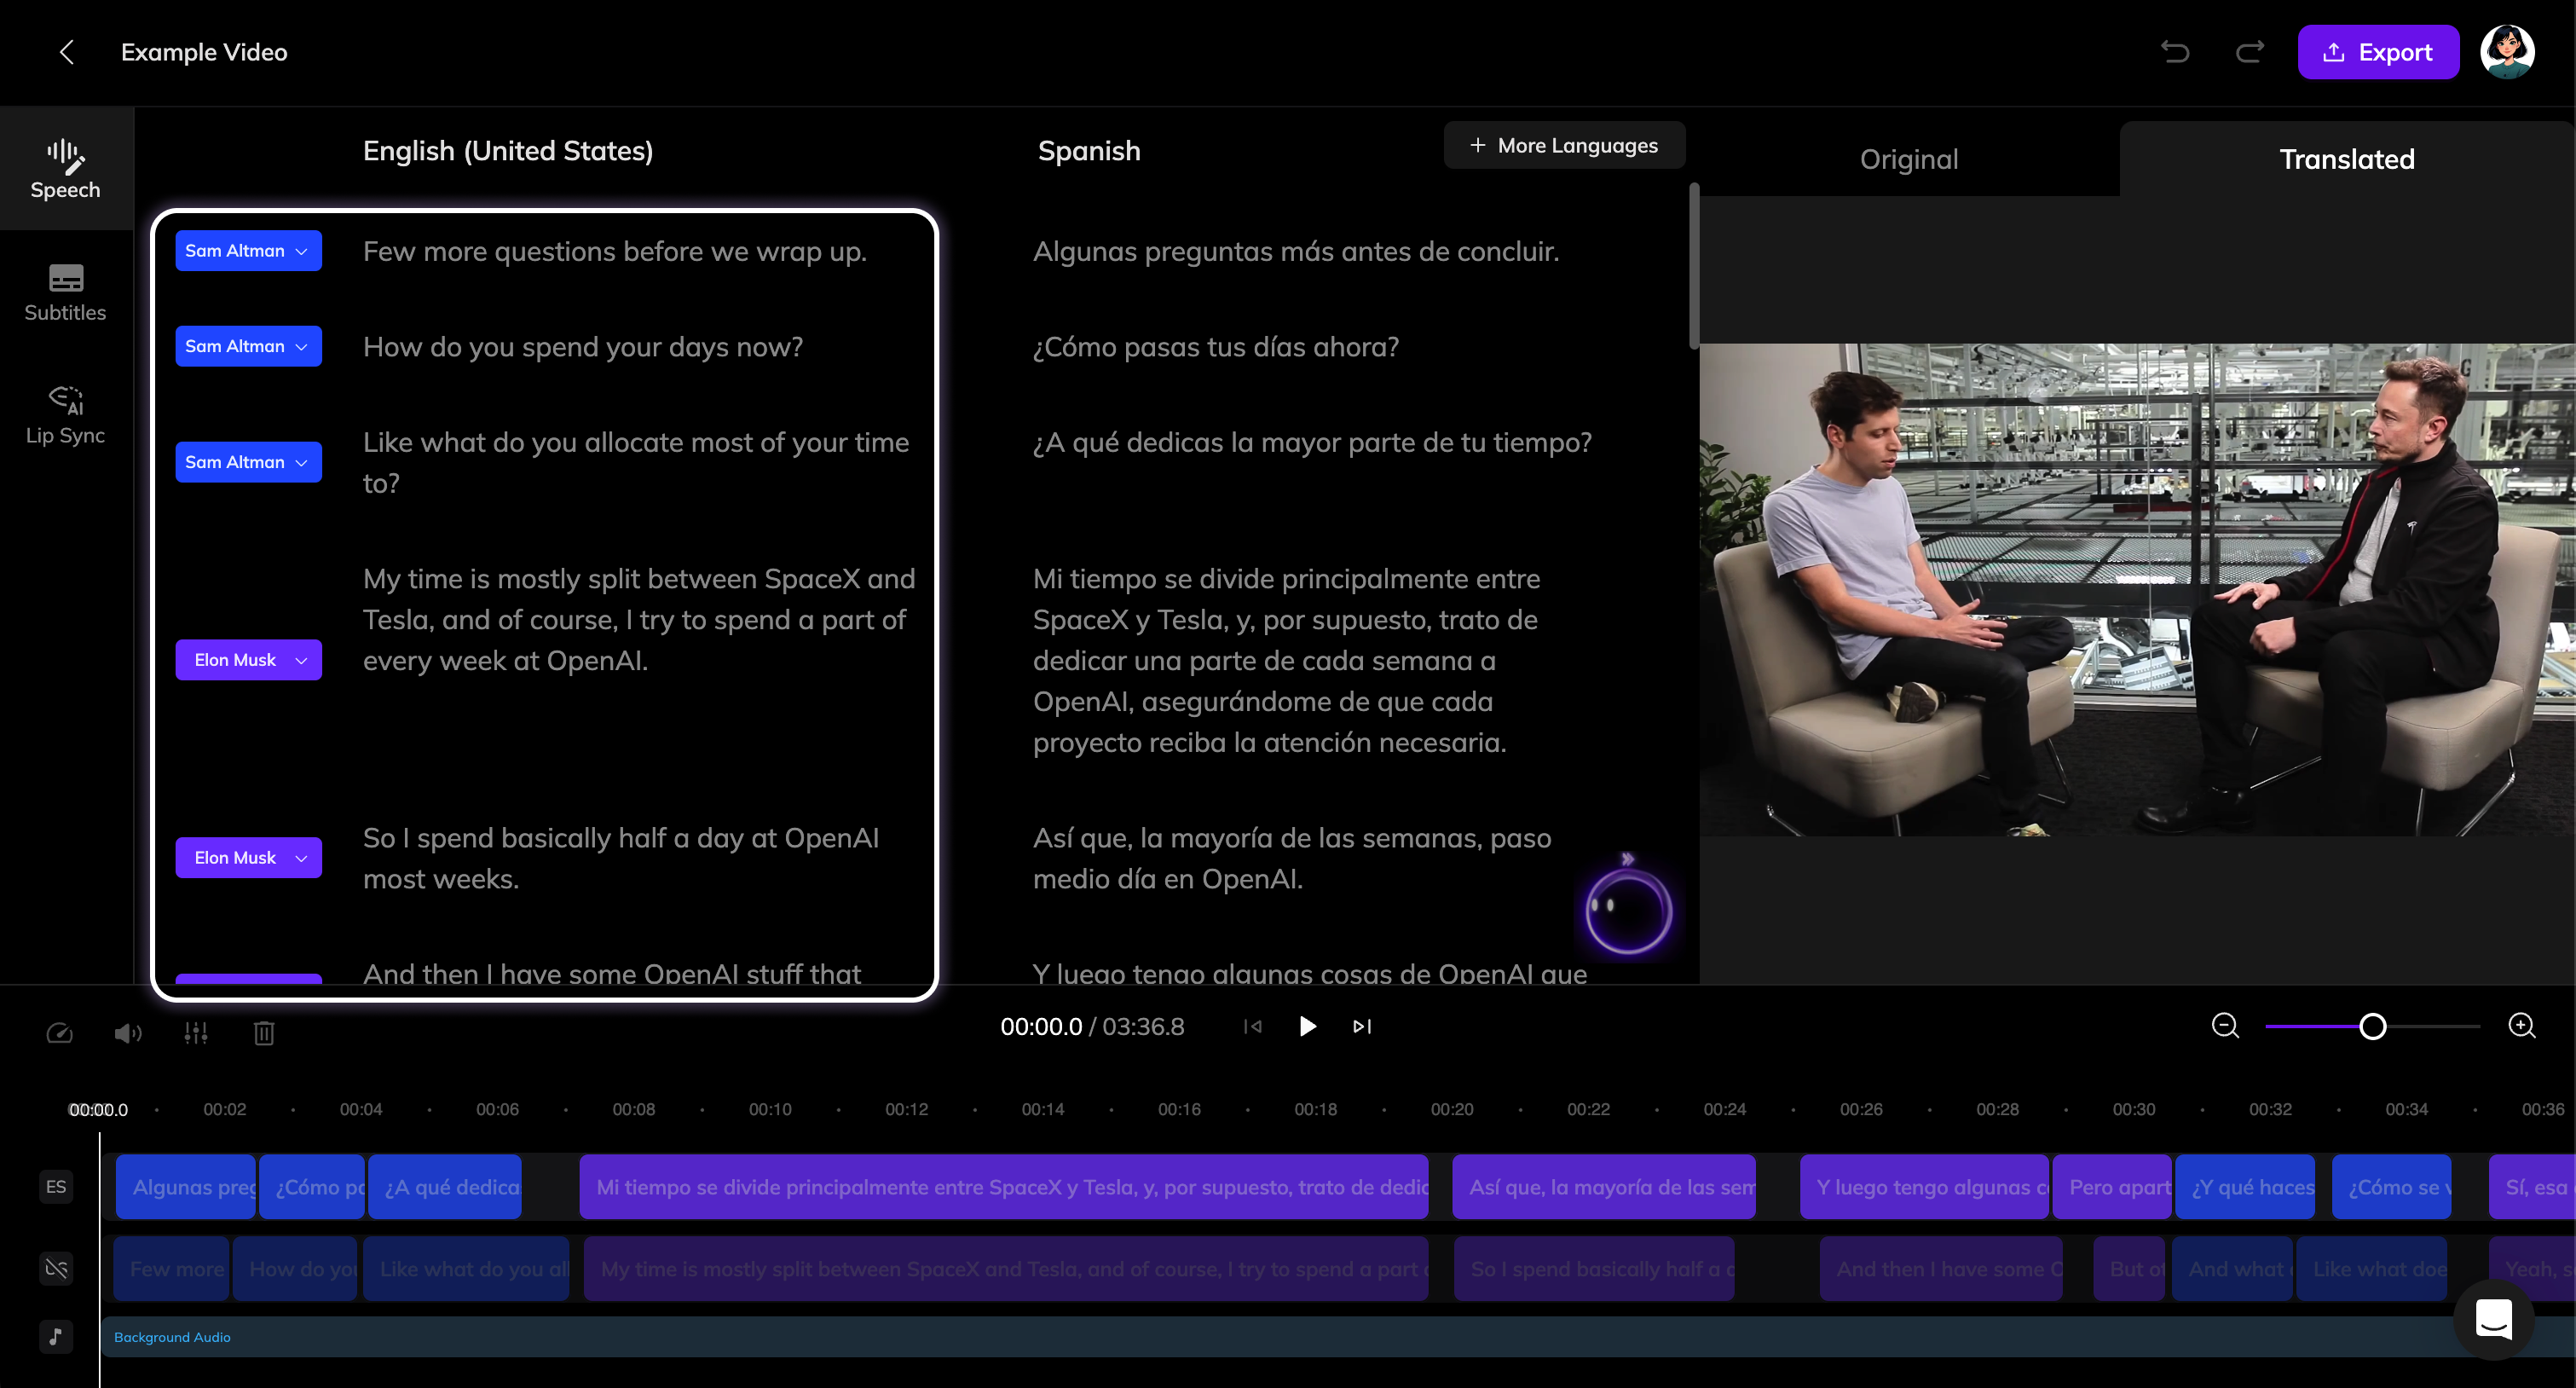
Edit Translations
You can manually edit the translation by clicking on the text to activate editing. After making changes, click the Update Dubbing button to generate new dubbing for the segment.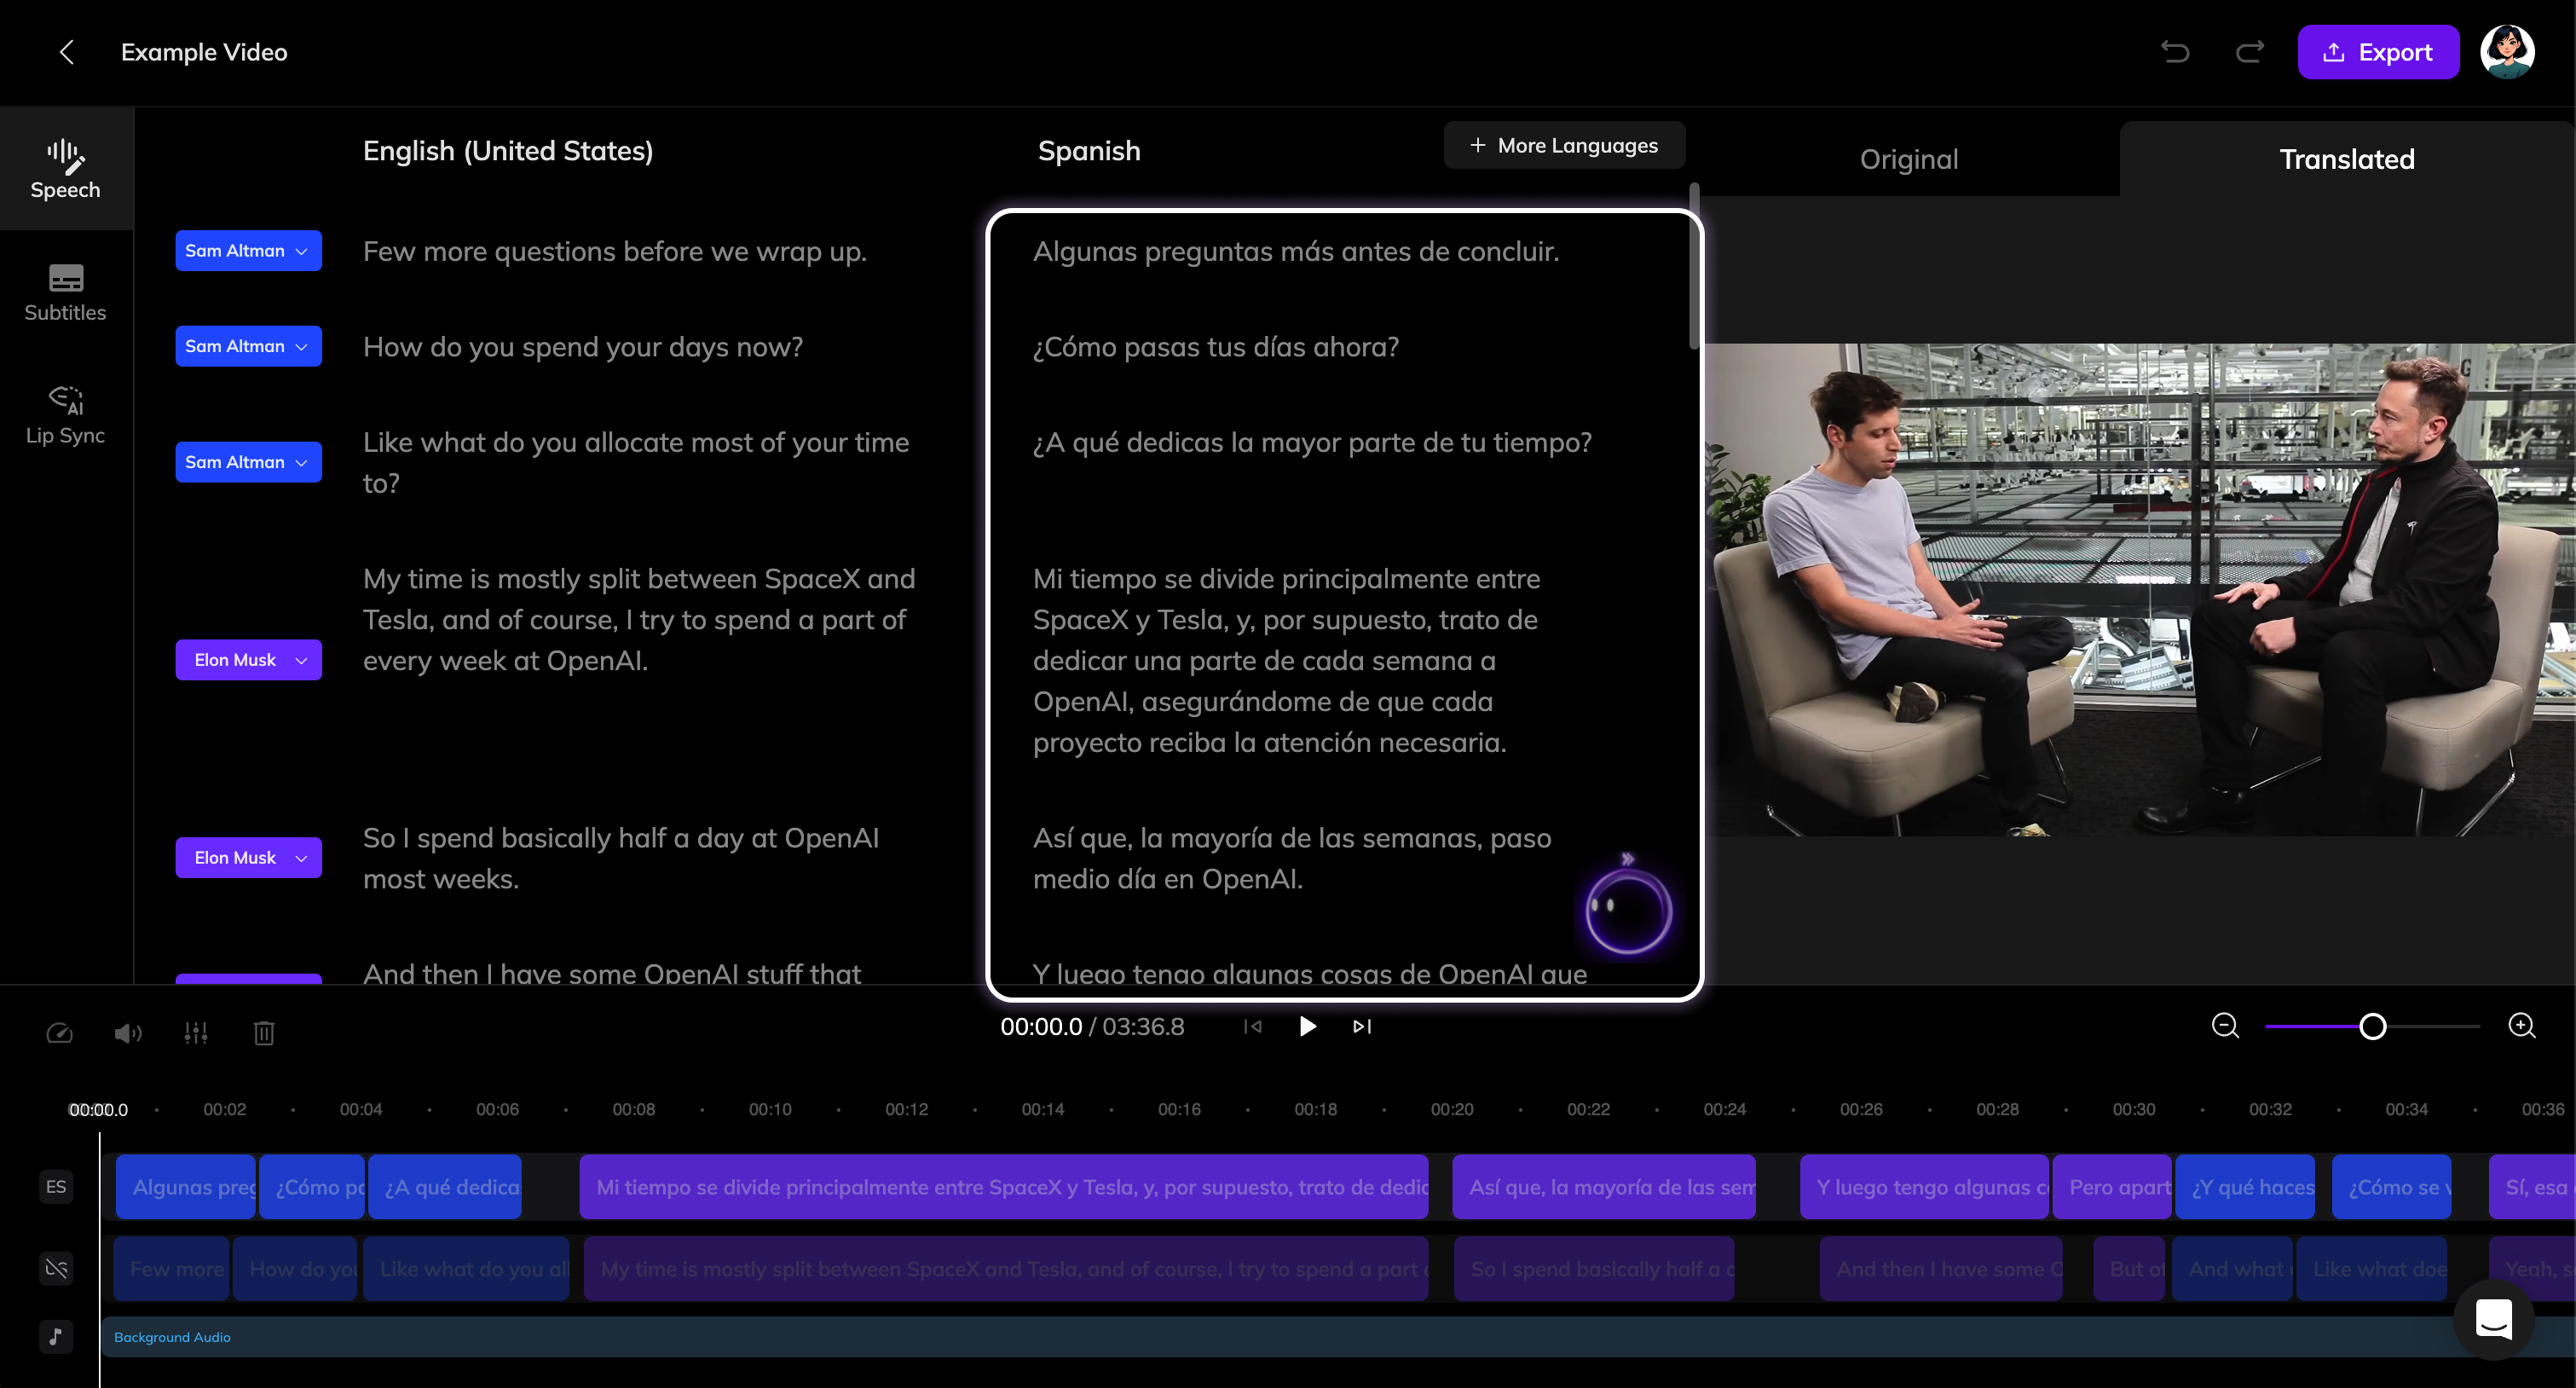
You can also have the AI Pilot help you edit the translations.
Adjust Audio Timing and Speed
Due to differences in language structure, the duration of the translated audio may differ from the original. Vozo’s automatic translation ensures the audio aligns as closely as possible while maintaining a natural speaking pace.-
Adjust Timing: Click on the audio clip you want to adjust, then drag it left or right on the timeline.

-
Adjust Speed: Hover over the left or right edge of the audio clip to reveal the control handle. Drag the handle to adjust the speed of the clip. These adjustments take effect immediately and can be previewed directly in the editor.

Add Subtitles & Lip Sync
The automatically translated video includes the new dubbing. You can enhance it further by adding translated subtitles or performing lip sync if needed.Add Subtitles
- Click on the Subtitles Tab on the left.
- Toggle the Add Subtitle switch. It will take a few minutes to generate the subtitles.
- Once generated, you can modify their style as needed.
Lip Sync
- Click on the Lip Sync Tab on the left.
- Configuration options are explained in Get Started with Lip Sync. Once configured, start lip sync to create a lip sync project.
Lip-sync is based on creating a new lip-sync project for the current video. Ensure the translated audio is accurate and finalized before starting lip-sync.